
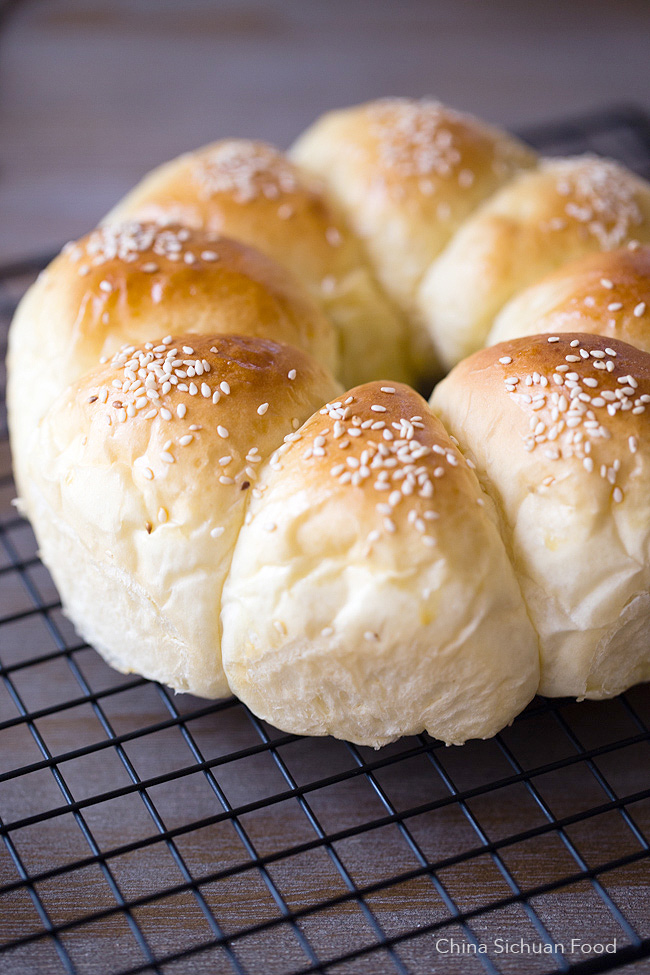
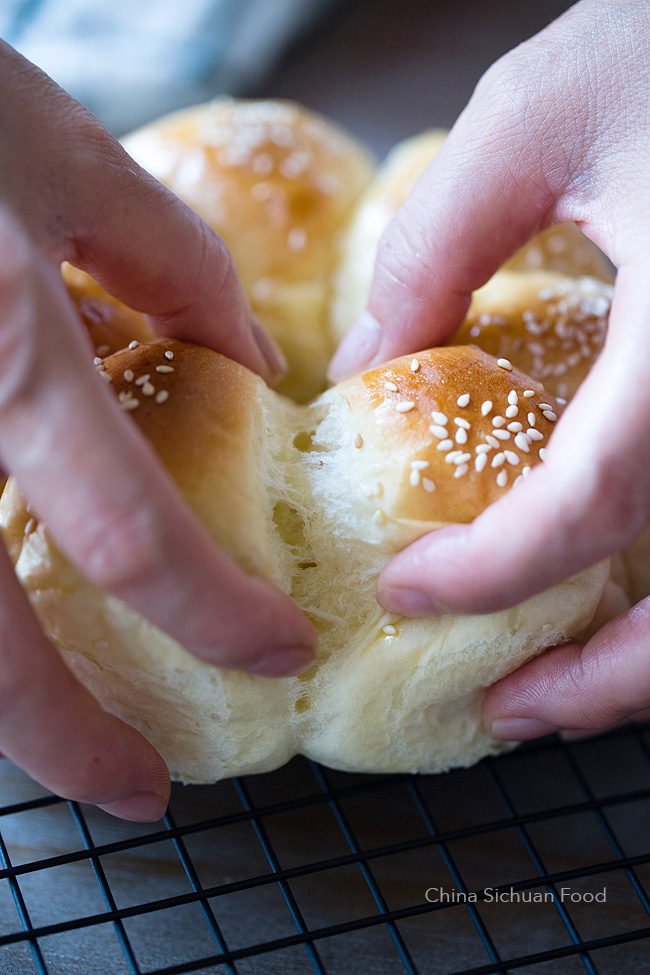
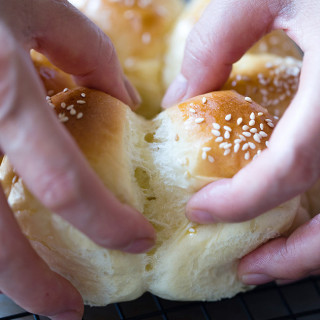
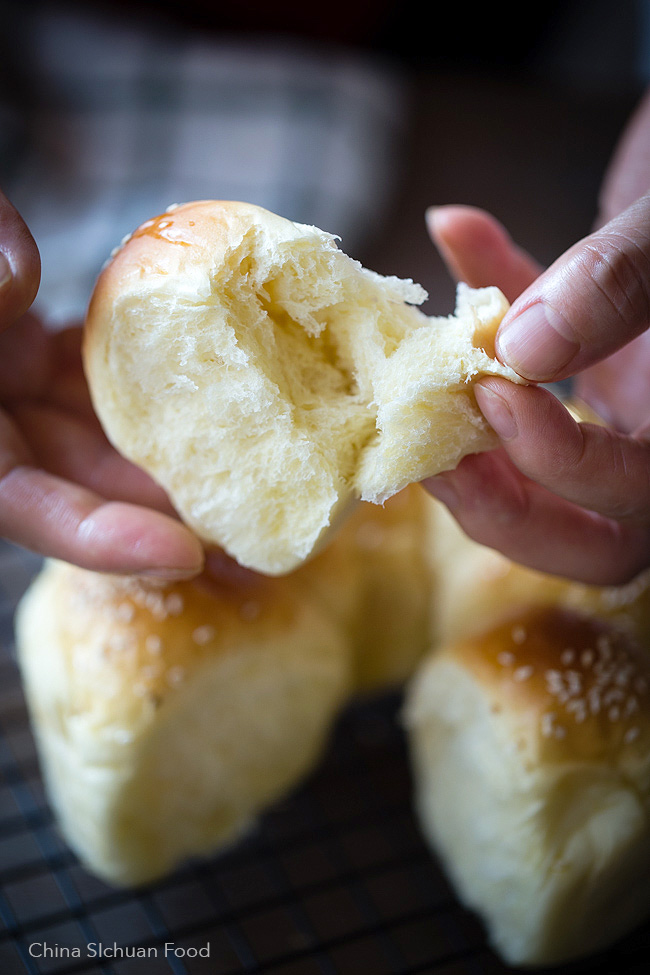
People in Asian countries love soft and fluffy bread.
China is changing so fast. Back to 20 years when I was still a girl, bakery seems quite far except the traditional egg cake. Bread, hamburger, cheese, even yogurt are all luxury food for us. KFC have been considered as high-level restaurants in China for years. But we can easily from food, wines and milk product from all over the world at the import food store several miles away. Lots of Chinese family kitchens have build-in ovens. So bread, baked buns, toast, cheese become more and more popular on our table along with our traditional Chinese dishes. We are enjoying free style meals everyday.
The milk bread introduced here is a very basic recipe I use daily if I do not have Tangzhong by hand. Japanese bakers influence Chinese baking a lot. In generally we love sweet, soft and golden brown bread and buns. In the past one year, I have failed lots of time at my own kitchen and I feel that pillow soft buns are so far from me. But in the new year of 2016, I made great progress and never failed again.
Ingredients
- 300g (2 and 1/3 cup,without shifting the flour) bread flour
- 50g (scant 4 tbsp.)sugar
- 2g salt
- 1 smaller egg
- 160g milk (3.5% fat)
- 1 and 1/2 teaspoon yeast
- 30g (2 tbsp.) unsalted butter at room temperature
Egg wash
- 1 egg, beaten
- 1 tablespoon water
Steps
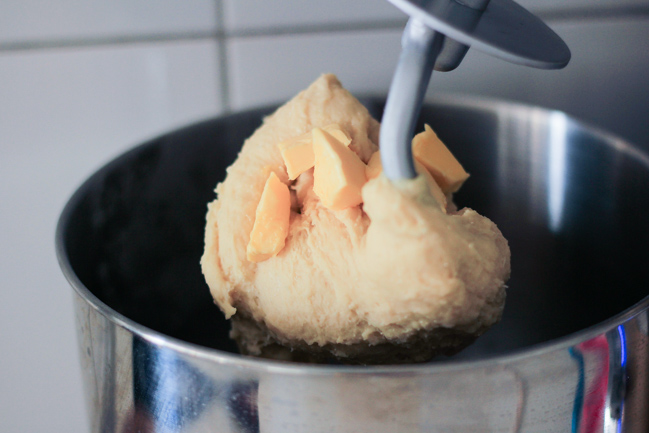
In a stand mixer, add all the ingredients of the dough except butter, knead on low speed for 5-7 minutes.
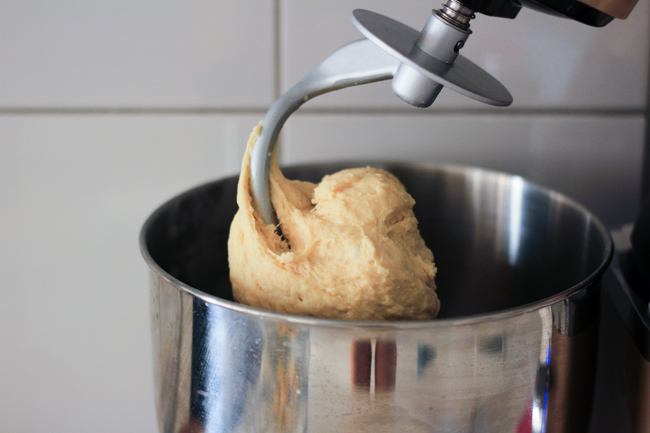
Then add butter in; continue kneading for another 7 to 10 minutes until you get a smooth, elastic and soft dough.
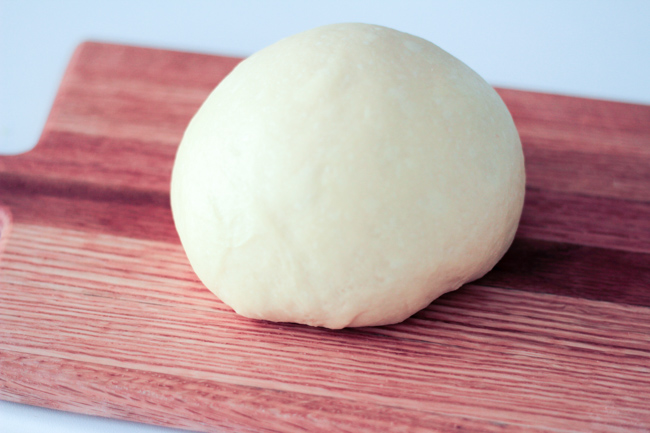
But my favorite way is to transfer the dough out to a slightly floured board after 5 minutes and smash it against the operating board, grab it up and smash again. Repeat this process for 2-3 minutes and shape into a round ball. This can help to strong the gluten.
Place in a large bowl and cover with a plastic wrapper and set aside for the first rise.
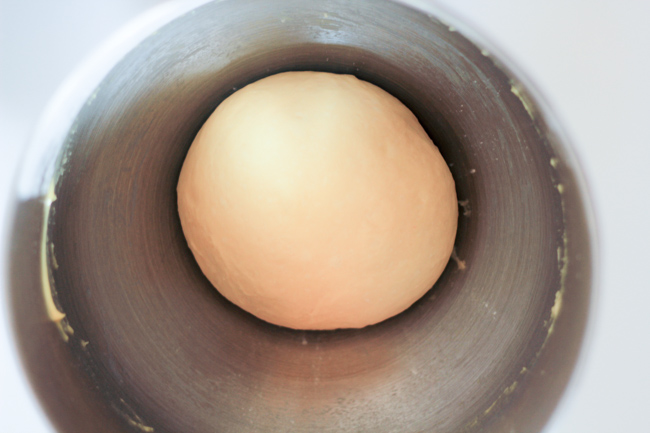
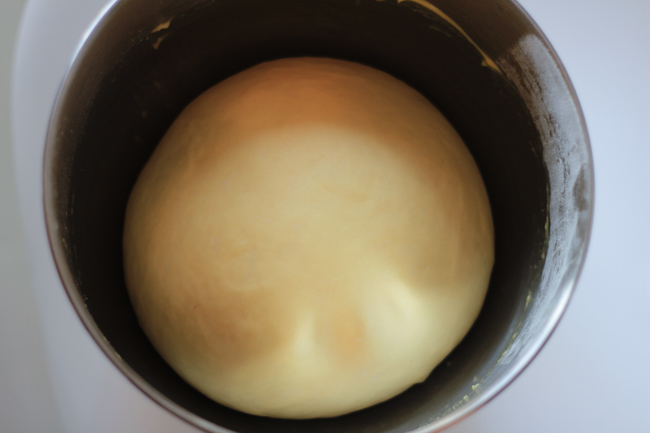
Until it is doubled in size.
Transfer the dough out and divide it into two halves. Press each halves to remove the inner bubbles and then shape into a round ball. Then divide one half of the dough into 8 portions and place them one by one in a cake mould.


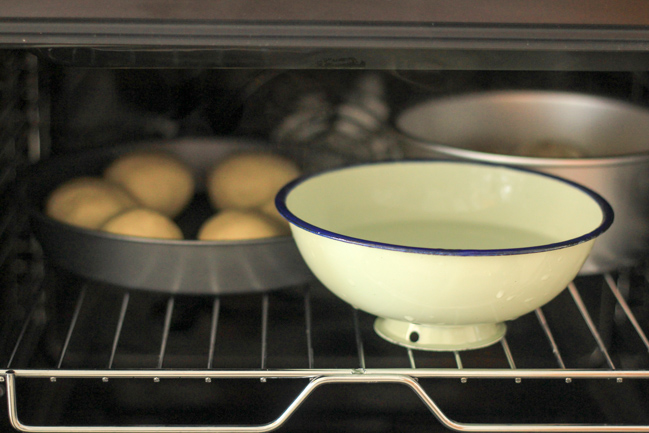
My favorite method to set up proofing process is in the oven. I place a large bowl of warm water in the oven to ensure a qualified humidity.
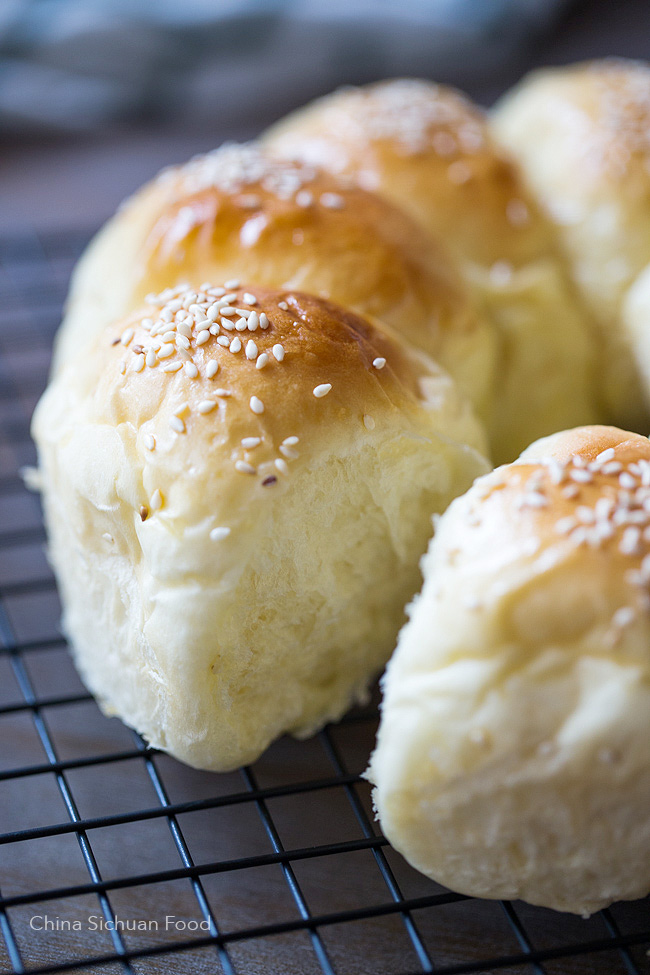
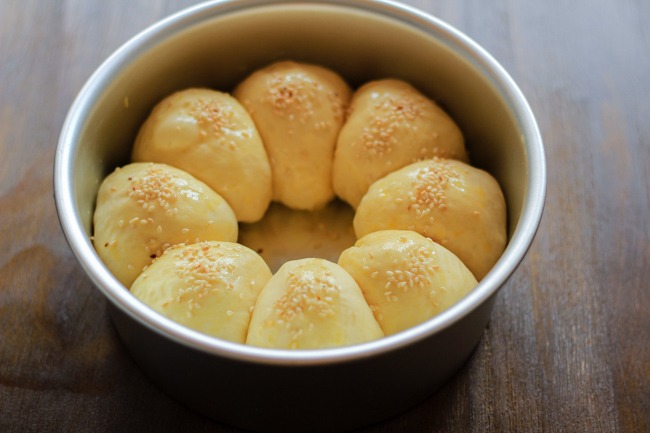
When the buns are almost doubled in size, pre-heat the oven to 170 degree C (350 degree F) and brush egg wash and garnish toasted sesame seeds.
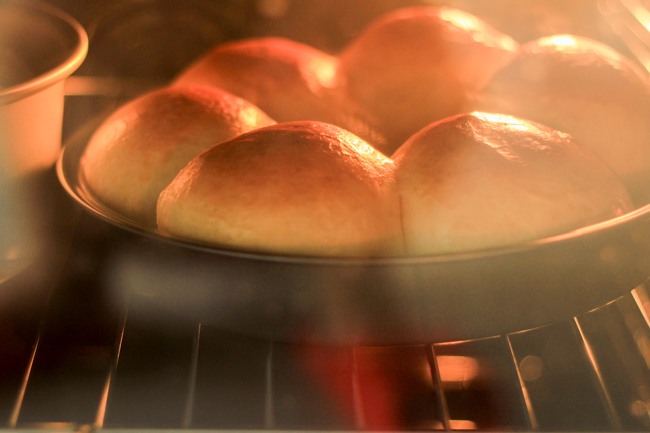
We love golden brown not dark browned buns, so I top the buns with silver papers when they are well colored.

Ingredients
- 300 g bread flour , 2 and 1/3 cup, without shifting the flour
- 50 g sugar
- 2 g salt
- 1 smaller egg
- 160 g milk , 3.5% fat
- 1.5 tsp. yeast
- 30 g unsalted butter , at room temperature
Egg wash
- 1 egg well beaten + 1 tbsp. water
Instructions
- In a stand mixer, add all the ingredients of the dough except butter, knead on low speed for 5-7 minutes. And then add butter in; continue kneading for another 5 minutes until you get a smooth, elastic and soft dough.
- Transfer the dough out to a slightly floured board after 5 minutes and smash it against the operating board, grab it up and smash again. Repeat this process for 2-3 minutes and shape into a round ball. This can help to strong the gluten.
- Place in a large bowl and cover with a plastic wrapper and set aside for the first rise until it is doubled in size.
- Transfer the dough out and divide it into two halves. Press each halves to remove the inner bubbles and then shape into a round ball. Then divide one half of the dough into 8 portions and place them one by one in a cake mould. You can make the other half the same or maker larger stuffed buns like me.
- Place the moulds in the oven along with a large bowl of warm water. Set aside for the proofing.
- When the buns are almost doubled in size, pre-heat the oven to 170 degree C (340 degree F) and brush egg wash and garnish toasted sesame seeds. Top with buns with sliver paper when the buns are well colored (optional). Bake for 20 to 25 minutes. Remove out and cool down.
Notes
Nutrition
Hi
the 160g milk is in liquid form or milk powder?
Liquid milk.
These look amazing! I will be trying your recipe today and filling them with char siu filling. I have two questions, though:
1) You mention that you cover the tops with “Silver paper” to prevent them getting too dark. What is “silver paper”? Parchment paper or aluminum foil?
2) What’s the difference in texture and flavor of using this recipe for char siu baos versus using your actual char siu bao bread recipe with the Tangzhong starter?
thanks! I can’t wait to try it tonight!
Hi Melissa,
For your questions:
1. It is aluminum foil.
2. It is 100% good if you use this milk bread dough with a char siu filling. The main reason why I use Tangzhong starter in the dough is to slow down the aging process. Tangzhong dough can have a longer soft period.
If I were to knead the dough by hand, how long would I have to knead it? Is it better to knead less or more to make a soft bread?
Longer kneading can help to strong the gluten network and make the bread soft. You can test it by making a thin glove with the dough.If it is not breaking, the dough is well kneaded.
Hi Elaine, first of all I am amazed with your patience and dedication to actually reply all the queries for this recipe for almost 2 years now! You posted this in July 2016! It’s very kind of you. I have recently start baking and use a bread maker to knead my dough. I will definitely try your milk bun recipe. Happy baking and stay happy ?
When you get your bread maker, you will on a journey of making all types of fluffy and soft buns from now on. Happy baking!
Hi Elaine
I agree that u r indeed a v kind blogger with great patience! Thank you!
I m also thinking of making own bread n buns for my family as it is definitely healthier n I m thinking of starting my bread making with your recipe. 🙂
As I hv not made bread before so my question may sound silly – for the 2nd part of kneading after adding butter, is there a need to check if dough has reached window-pane stage before we stop the mixer please?
Thanks in advance!
Grace
Hi Grace,
Thanks for your lovely comment. You raised a good question for checking the stage of the dough. For regular buns like this, window-pane stage is not a must. But it would be better if your dough is reached window-pane stage.
Hi Elaine,
can you explaine to me about to cover the bun with silver paper when the buns are well coloured, does it mean to cover the buns before we put it in the oven (still raw), or we cover it with silver paper after we check that the buns in the middle of baking when we see those buns already brown? Thank you
Hi Lidwina,
When the buns are well colored (brown),cover the silver paper can prevent the buns turn dark brown.
Elaine, this recipe is perfect. I followed the recipe and divided the dough into 16 smaller pieces so that every individual portion is proportional for my 8 y.o., baked them in a cast iron pan, with a bowl of warm water as you prefer, 170 degrees C, 25 minutes, and they came out perfect. Nice and fluffy, with soft crust instead of hard. I’ve always wanted to make this type of bread but hadn’t been successful until I thought “Maybe Elaine has one”, and you do! Once again you made my day, just as you did it when I did your other buns (steamed buns, pork buns, etc) and your Chinese recipes. I wish I could upload my photo of these sweet buns here, I wanted to show you, unfortunately I don’t see any button to do that. Anyway, thank you so much! Love from Canada.
Ika,
That’s really a great comment. I have not make the buns for a while since I am on a summer journey in a mountain and there is no oven here. But I miss the soft texture reading your comment. You can upload the picture to Ins and tag me #chinasichuanfood. Thanks again for your wonderful feedback, made my day too.
Is the recipe asking for active dry yeast or instant yeast? does it make a difference?
Active dry yeast should be mixed with water before using while instant yeast can be directly mixed in flour. Both works.
Hi friend, I want to try making this it look fluffy and so soft. I dont have a stand mixer so if I do the kneading by hand will it be ok? The is my first time trying to make bread so I’m curious if it’s possible without mixer. I have a hand mixer/blender. Thank you how to hear back soon
Looks yummy! Approximately how long does it take for doubling for the first and 2nd rise?
It actually depends on the room temperature. From 30 minutes to 4 hours.