
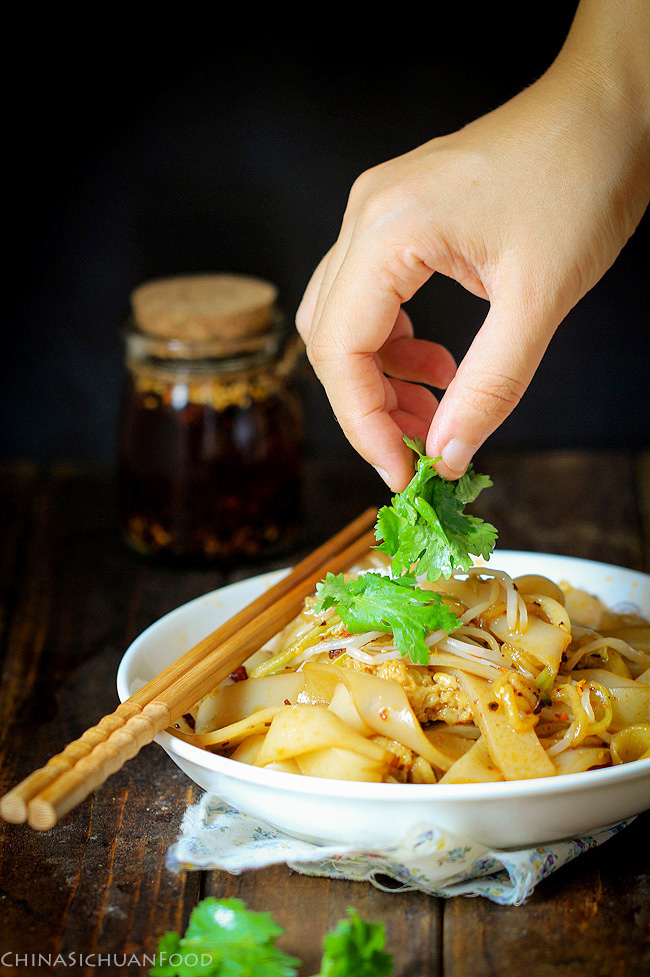
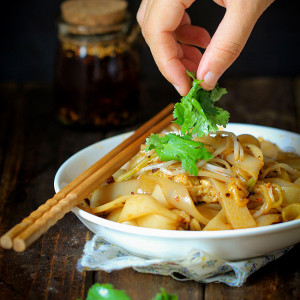
Famous Xi’an food-Liangpi (cold skin noodles) has been my best memories in university life. I have been eating this dish all the summer of this year after I learnt how to cook it at home. But the plan of making a video has been delayed several times due to the hot whether. My camera went on strike every 2 minutes in order to protecting CMOS. That’s also the reason why I have not update any video recipe recently. If you want to see more, go ahead and subscribe my YouTube channel.
Xi’an is located in center of China where different cuisines combine together and change based on one another. Back to my four years of university life in Xi’an, I was so happy and unlucky because of the abundant yummy food. I am still mouthwatering when recalling them one by one. There are Liangpi, Roujiamo, Caijiamo, hot and sour noodles, Shan’xi style steamed roll, Biang Biang Mian (noodles) and etc.
Cold skin noodles can be made from flour or rice flour. But the flour version is much chewer and rice flour cold skin noodles are softer. Before we starting making this famous food, there is a formula to understand: flour= gluten+ wheat starch. We will separate gluten and starch with a traditional method—water washing. When the gluten is removed, the cooked starch will be transparent, which makes it an important ingredients for one famous Chinese dim sum dish–Har Gow.

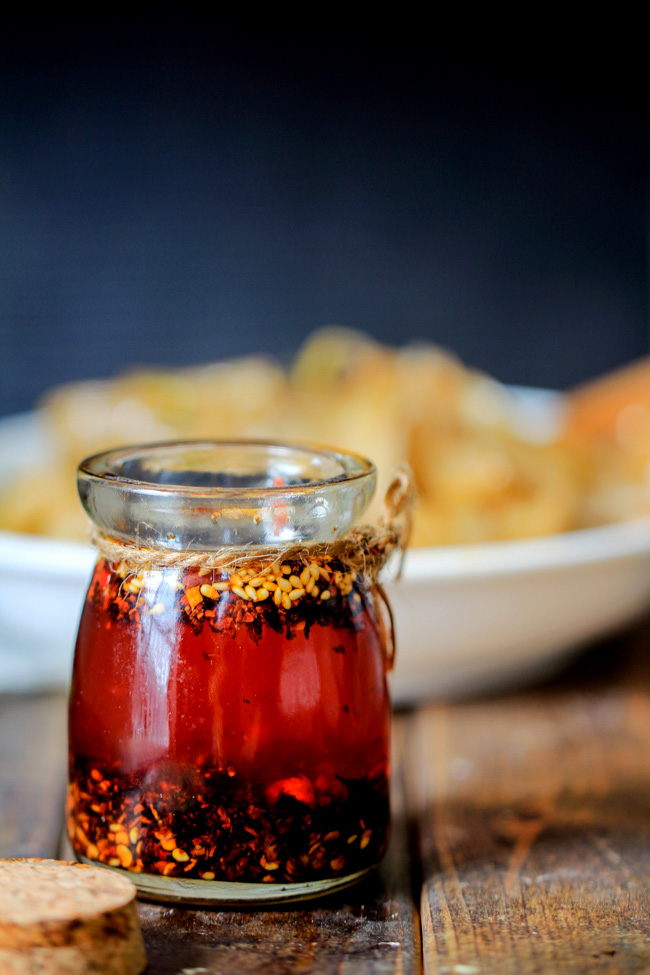
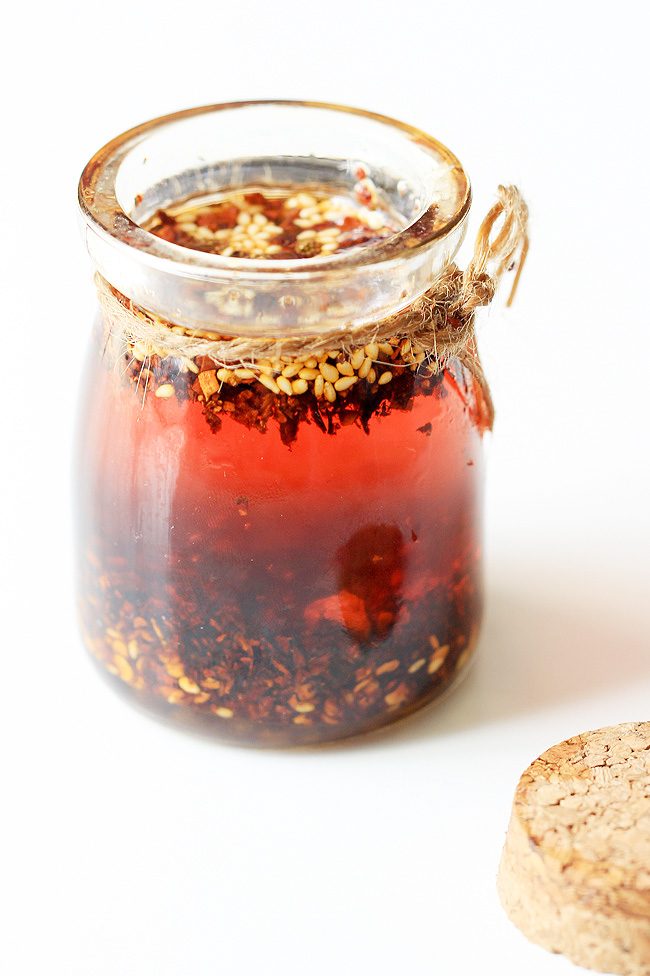
Another important ingredient is the chili oil with black vinegar.
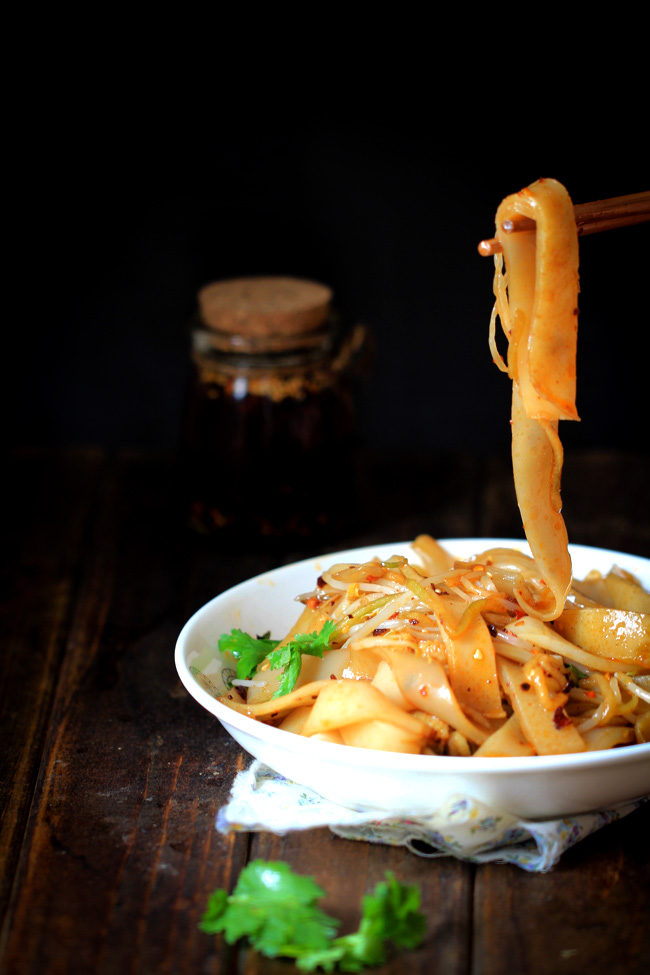
Liangpi—Cold Skin Noodles
Ingredients
For the liquid for steam Liangpi
- 2 cups all-purpose flour
- 150 ml water with 10ml more for adjusting
- pinch of salt
Side ingredients and seasoning for half of the serving (I keep the left for my husband)
- shredded cucumber as needed
- Blanched bean sprouts as needed
- 1 tablespoon light soy sauce
- 1 tablespoon black vinegar
- 1/2 tablespoon sesame oil
- 1 smashed garlic+1 tablespoon water
- Chili oil to taste
- Fresh coriander leaves for decorating or blanched celery leaves
Chili oil with black vinegar
- 1 cup vegetable cooking oil
- 50 g chili pepper powder
- 1 small pinch of salt
- 1 tablespoon toasted sesame seeds
- 2 star anises
- 2 bay leaves
- 2 slices of ginger
- 10 Sichuan peppercorns
- 1 small piece of Chinese cinnamon bark
- 2 teaspoons black vinegar
Instructions
- Mix salt with all-purpose flour in a large bowl and then stir with chop stickers when pouring water. Then knead until almost smooth. Rest for 15 minutes.
- Pour enough water to cover the dough and begin washing with the purpose of separating the gluten out. Repeat the process until the gluten is no longer shrinking. Transfer the gluten out and wash once again. Strain the second liquid back to the bowl with the first batch. Set aside for at least 4 hours (or overnight in cool places) until the starch sank to the bottom and there is a layer of clear water.
- Wash the gluten under running water for several minutes until the water coming out is clear but not creamy white. Add 1 teaspoon of instant yeast and set aside to proof for around 4 hours. And then steam for 15 minutes over high fire. If you are on a gluten free diet, just throw the gluten away. No worries.
- Pour the clear water out (can keep a really thin layer around 0.5 cm) and stir the remaining liquid to combine well.
- Prepare a plate (stainless steel plate with edges will be the best, like this one), but make sure that your steamed pot can hold it. Besides we also need a small cup of oil and a brush. Bring water to boil in wok or pot.
- Slightly brush oil on the surface of plate (around 5 to 6 drops) and scoop around 3/4 cup liquid after stirring (see note 2 for the amount adjusting tip). Shake the plate slightly to make the liquid spread evenly on the surface.
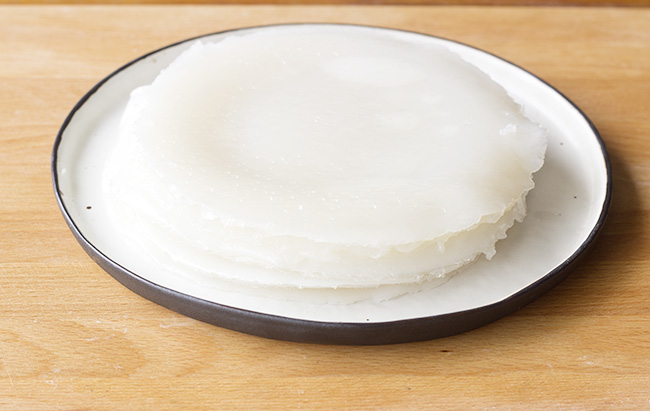
- Transfer the plate to the steaming wok; cover the lid and steam over medium for around 2 minutes. When done, the liangpi becomes transparent and there might be large bubbles in center. Transfer out and brush some oil on the upside (so they will be sticky to each other later). Wait for 2-3 minutes until cool down, tear the liangpi off carefully. To speed up the process, prepare several plates with the same size so you can steam and cool down alternately.
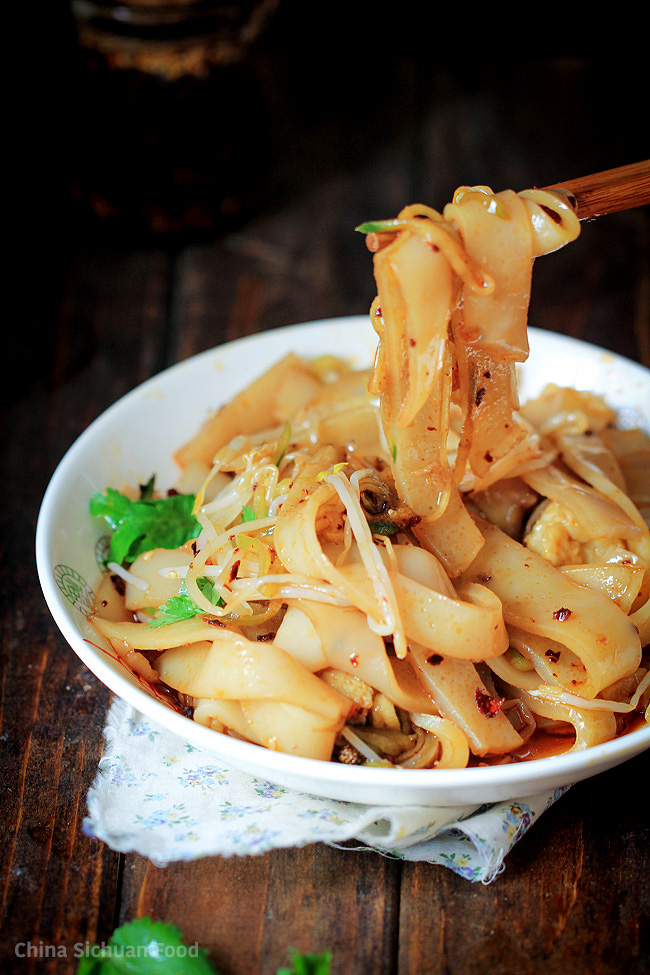
- Cut the liangpi into strips around 1 to 1.5 cm wide after cool dome COMPLETELY otherwise you may break them.
To make the chili oil
- Mix salt and chili powder and spread sesame seeds on top.
- Heat up oil with spices in pot over slow fire until you can smell the aroma of the spices. Scoop the spices out and leave the oil to continue heating for several minutes until slightly smoky. Move from fire and wait for 1-2 minutes.
- Carefully pour the oil over the chili powder (by batches if it is boiling strongly). I will recommend using a larger bowl at your first time to avoid the oil overflow. Set aside for several minutes and add 2 teaspoons of black vinegar.
Assemble the liangpi
- Prepare all the seasonings, chili oil, steamed gluten, Liangpi strips. Add soy sauce, vinegar, sesame oil, and garlic water and chili oil one by one. Mix well and taste whether additionally salt is needed. Decorate with coriander leaves before serving.
Notes
Nutrition
Dreaming cold skin noodles
And dreaming Chili oil
If you have a package of just wheat starch could you use that to make the noodles instead of washing the all purpose flour to separate the starch from the gluten? About what would the ratio of water to starch be? This recipe looks so good and I’m looking forward to trying it when I get a chance~
Hi Natalie,
I will test it soon. Please wait for my new post about how to use wheat starch directly.
When will this be posted?
你好 Elaine !
I am also thinking about this, using wheat starch, instead of washing the flour. Can we just use wheat starch ?
Yes. You can use wheat starch directly for sure.
Can I use whole wheat flour to make this?
The left over gluten is called seitan which is used to make mock meat 🙂
Yes, it is the mock meat in China too.
I have never tried to use whole wheat flour and I think it is not a ideal ingredient for liangpi.
I followed your receipt exactly and everything was going well until the washing of the dough.
When I try to strain the gluten out, it was sticky and very wet and it also form a “gluten net” on the bottom of my sieve and no more liquid could he strained out. I have to change several sieve to strain all the liquid out.
In the end, my gluten was still wet and gloopy until yours.
Do you know what went wrong? I made a huge less and had to throw away 4 sieves as they all had a “gluten net” on their bottoms and can’t he used anymore…
Alice,
There are possibly 2 reasons.
The first one might be your flour. It cannot form a strong gluten network because of the lack of gluten. .
The second reason might be insufficient kneading. The forming of gluten network need enough time and kneading.
Hi, I tried making these at home. I have made these perfectly before but I moved countries recently and i’ve Been trying to recreate the recipe but it’s not turning out the same. When I made it by washing flour, the noodles tasted too much like flour and just dissolved when put into any soup. It was more sticky than chewy.. so I’m trying to make it with starch but… I can’t seem to get the water and starch ratio correct. Can you help? I tried adding flour too but something is missing. I don’t know if it’s the cooking either. I really crave these noodles. HELP!
Hi MissRi,
I believe the problem actually is your flour. Have you change the type of flour used? I have similar problem last time when using a lower quality of flour.
How long can you store the Noodles and can they be frozen
Can be kept for 24 hours. No, this can’t freeze well.
Hi! Can I use the regular oven to cook the noodles. I dont have a steamer or cookware large enough to do the steaming/boiling. In some recipies they say you can use microwave so what would be the oven temperature/time? Thanks!
Yes, regular oven is fine but I hav’t tried microwave. Sorry I can’t provide a precise temperature.